This guide provides step-by-step instructions for adding new users to the UniFi Access system. It is designed for administrators who need to grant employees or visitors access to doors and areas managed by UniFi.
By following this guide, you will learn how to:
- Sign in to the UniFi console and navigate to the Access section.
- Create a new user profile with essential details.
- Assign appropriate access policies to control permissions.
- Complete the on boarding process so the user can access doors via the UniFi Identity application.
Use this guide whenever you need to onboard new users quickly and securely.
1. How to Add a New User in UniFi Access
Sign in to UniFi Console
- Go to https://unifi.ui.com/consoles
- Select the relevant site from the list.
2. Navigate to Access
- From the top menu, click the Access icon.

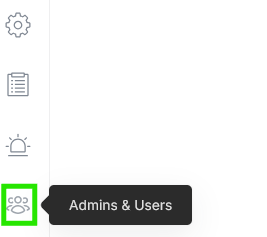
3. Open Admins and Users
- Scroll to the footer of the screen and select Admins and Users.
4. Show All Users
- In the Admins and Users section, uncheck the Admin Permissions box.
This ensures you see all users, not just admins.

5. Create a New User
- Click Create New, then select Create New User.
A new panel will slide in from the right.

6. Enter User Details
- Fill in:
- First Name
- Last Name
- Email Address
- Optional: Add Employee ID and Onboard Date if required.
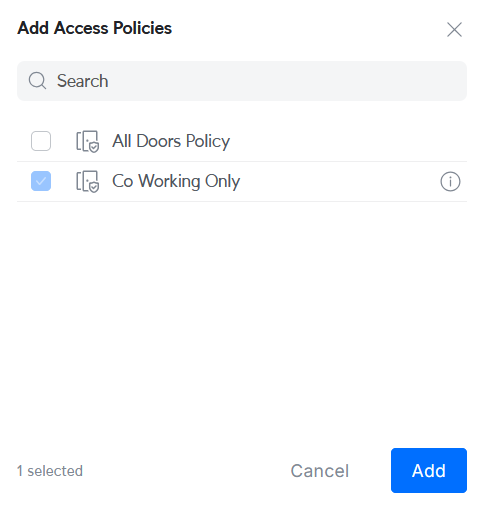
7. Assign Policies
- By default, the user will be assigned a default policy (e.g., Co Working Only).
- To add more policies, click the + button and select additional policies.
8. Create the User
- Click Create User once to add them to your Access system.
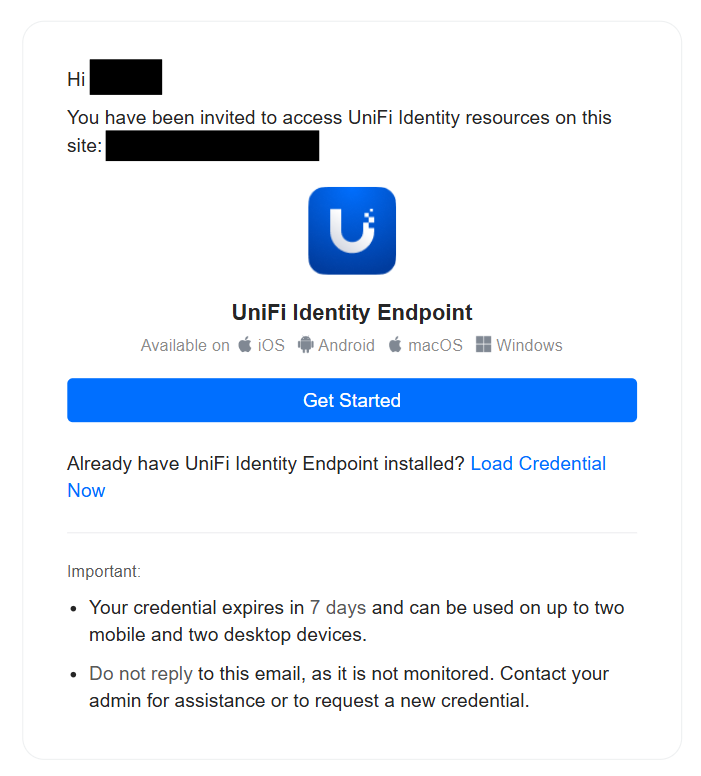
9. User Email Notification
- The user will receive an email from identity@ui.comwith:
- A link to the UniFi Identity application.
- Instructions to load their credentials.
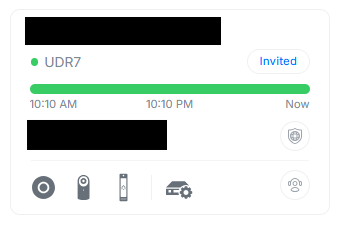
10. Access Granted
- Once set up, the user can open the app and unlock doors as per their assigned policies.
Was this article helpful?
That’s Great!
Thank you for your feedback
Sorry! We couldn't be helpful
Thank you for your feedback
Feedback sent
We appreciate your effort and will try to fix the article